Character Randomization
The Character Creation Menu supports multiple ways to randomize a character’s appearance.
You can randomize:
- The entire character
- Selected layers only
- A single layer
Complete Character Randomization
This is the simplest form of randomization.
A single button randomizes all layers of the character at once.
Prefabs
location: Prefabs > Character Creator > Modules > Randomization Controls.
Within are variation folders, each folder contains identical prefabs with different visual styles.
Setup Steps:
- Choose a variation folder.
- Locate the Randomize Character Button prefab.
- Drag and drop the prefab into the contents of your Character Creation Menu.
When the button is pressed in Play Mode, all layers of the character are randomized.
Manual Setup
To create a compelte randomization button from scratch:
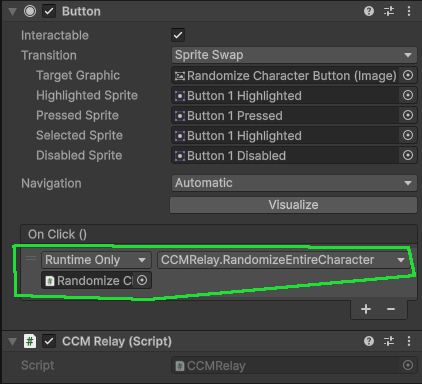
- Create a new GameObject.
- Add the
Buttoncomponent. - Add the
CCM Relaycomponent.- See: CCM Relay component.
- Add an
On Clickevent to theButton - Assign the
CCM Relaycomponent. - Select the
RandomizeEntireCharacter()method. - Enter Play Mode and test your button.
When your button is pressed, all layers of your character should be randomized.
Controlled Randomization
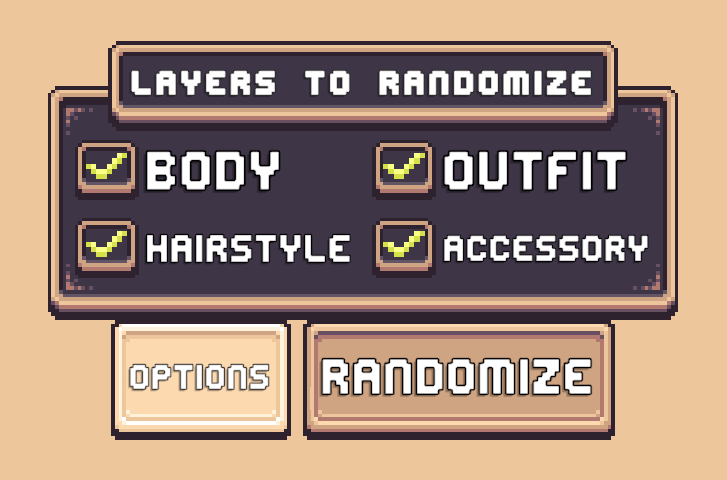
Controlled Randomization allows selective randomization of layers.
It consists of:
- A Randomize button.
- An Options button.
The Options button opens a popup listing all layers with toggles.
Only enabled layers are randomized when the Randomize button is pressed.
Prefabs
location: Prefabs > Character Creator > Modules > Randomization Controls > (Variation folder) > Controlled Randomization.
Within The Randomization Controls folder are variation folders, each folder contains identical prefabs with different visual styles.
Setup Steps:
- Choose a variation folder.
- Open the Controlled Randomization Subfolder.
- Drag and drop the Controlled Randomization prefab into the contents of your Character Creation Menu.
- Enter Play Mode and test your new randomization controls.
Layer Toggle Prefab
Located inside the same folder.
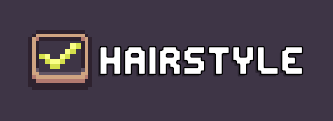
The Layer Toggle prefab is used inside the options popup.
This prefab uses the CCM Layer Randomize Toggle component. It lives on the same GameObject as the Toggle component.
The CCM Layer Randomize Toggle component updates the Controlled Randomization Handler when its state is changed.
Additionally the component requires a refernce to a text component which is used to display the name of the layer.
Manual Setup
A step-by-step walkthrough to create your own Controlled Randomization prefab.
GameObject Structure
Create three GameObjects:
- Controlled Randomization (Root GameObject)
- Buttons (Container for controls, place inside root)
- Randomization Options Popup (Toggle list UI, place inside root)
Handler Component Setup
- Add the
CCM Controlled Randomization Handlercomponent to the root (Controlled Randomization) GameObject. - Assign the Randomization Options Popup to the field of the same name.
- Assign the Layer Randomize Toggle Prefab. You can use the pre-created prefab or create your own.
Buttons Setup
- Create two child GameObjects under the Buttons GameObject:
- Options Button
- Randomize Layers Button
- Add
Buttoncomponents to both. - Configure events:
- Options Button
- Calls
ToggleRandomizationOptionsUI()
- Calls
- Randomize Layers Button
- Calls
RandomizeCharacter()
- Calls
- Options Button
Randomization Options Popup
The Randomization Options Popup GameObject should have a grouping component to space out the toggles.
This will usually be a Horizontal, Vertical or Grid Layout Group.
A Content Size Fitter component can also be used to automatically expand the parent GameObject to the size the toggles take up. This is useful for a background to automatically adjust its size as toggles are added or removed.
Toggles can be added directly in the editor.
At runtime:
- If too few toggles exist - More are created.
- If too many exist - Extras are disabled.
The Randomization Options Popup GameObject can be enabled or disabled in the editor. Its state will be automatically managed during runtime.
Single Layer Randomization
Some Layer Selectors include a variant with a built-in randomize button that affects only that layer.
Check each Layer Selectors prefab folder to see if it includes a variant with randomization controls.
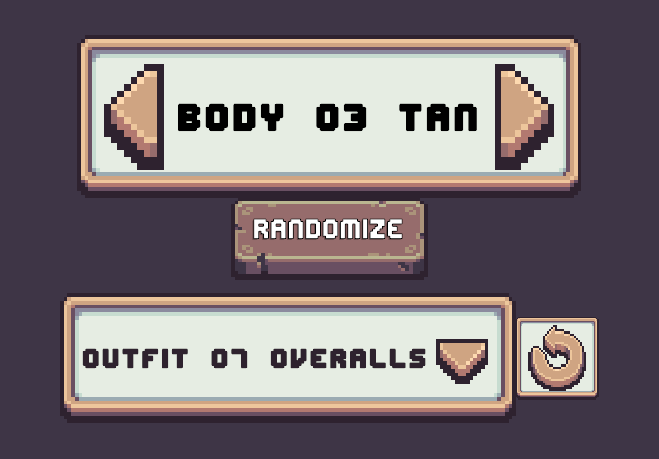
Adding a Randomize Button to a Layer Selector
If a Layer Selector does not include a variant with a randomize button, one can be added:
- Create a new GameObject.
- Add the
Buttoncomponent. - Add an
On Clickevent. - Assign the Layer Selector Component to the event and select the CharacterLayerSelector.RandomizeLayer() method.